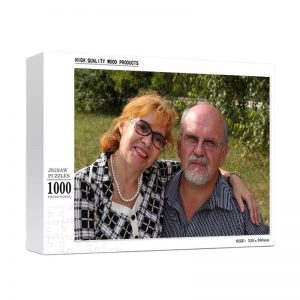
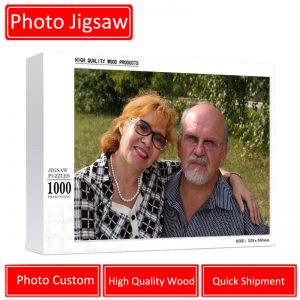
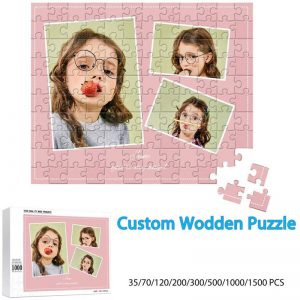
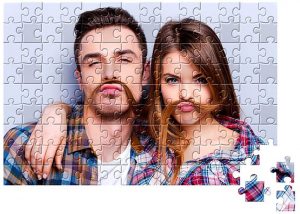
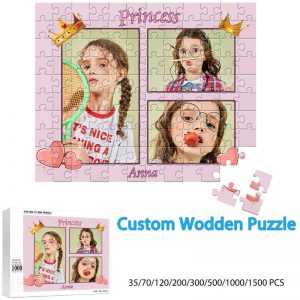
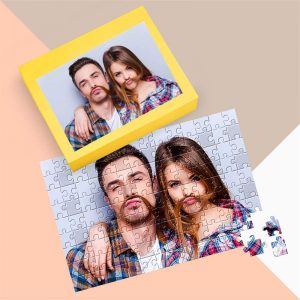
- Personalized Jigsaw Puzzle: Easy online design. Upload your favorite photos of family, kids, birthday, party photos, pet photos, wedding photos and other memorable photos to make your own jigsaw puzzles.
- Creative Gifts: Custom image puzzles are perfect gifts on Christmas, birthday, family barbecue, wedding, graduation days and etc. Make a memorable and interesting gift now for the ones you love, such as families and friends.
- Functions: Providing an ideal way for children to develop hands-on ability and intelligence. Great for adults to release pressure and boredom. It’s an excellent activity for parents and kids to make an interesting puzzle together.
- By using advanced printing technology, this jigsaw puzzle from photos has clear and long lasting colors. For the better printing result, please make sure you upload a clear photo larger than 2MB , with 3000×2000 px or higher resolution.
-
Product name Wooden Photo Custom Jigsaw Puzzle DIY Personalized Gifts Puzzles Material Wood Size 35/70/120/200/500/1000 pieces puzzle OEM OEM/dropshipping Printing 4C/4C CMYK UV Printing
How to make a puzzle picture?
Jigsaw picture is a picture style that we often see, and it is also a kind of small game that children like to play. Now we are going to make a complete picture of the jigsaw. The picture can be printed out for children to play with the jigsaw, or it can be put in qq Photo albums are used as covers, which are very popular nowadays. Let’s make one below:
Steps/Methods:
1: After opening ps, press ctrl+n to create a new file. The parameter settings are as shown in the figure, mainly to set the pixels, width and height.
2: Use the magnifying glass tool to enlarge the canvas to the size shown in the figure to facilitate our drawing.
3: Use the pen tool to draw a graph as shown in the figure. Note that the upper and lower ends of the graph cross the upper and lower sides of the canvas, that is, the two ends must be close to the edge of the canvas.
4: Using the ruler line, drag it to the position shown in the figure, approximately on the center line of the canvas.
5: Use the Add Anchor Point tool, and then drag the anchor point to the ruler line.
6: Create a new layer 1, operate on this layer, and then use the brush tool to set the parameters as shown in the figure. The main parameters to be set are the diameter of the brush to 2, and the color to black.
7: In the path panel, click the [Stroke Path] button below to stroke the path, and you will see the effect as shown in the figure.
8: Duplicate layer 1 three times and merge them into one layer, you will see the lines are clearer.
9: Open a photo that you want to make a puzzle effect, and then use the move tool to drag the completed curve layer to the photo to form a new layer.
Press shift+alt without letting go, and then drag the curve with the mouse, you will see that the curve is copied once, and continuously copied to get the following effect
Hide the background photo and merge all visible layers.
Press shift+alt without letting go, then drag to the right to copy the curve to get the following effect, try to make the distance between the curves equal. Then merge all visible layers.
Then go back to the curve we started to draw and execute: image-image rotation-90 degrees. Rotate the canvas.
Drag it to the photo, as shown in the figure, and get a horizontal curve in the same way.
Merge all the layers composed of curves, and then display the background layer, as shown in the figure.
In the layer panel, click the layer style button, and in the open drop-down list, select [bevel and emboss].
In the layer style dialog box that opens, set the parameters as shown in the figure: the style is outer bevel, the method is smooth, the depth is 100%, the size is 3, the softening is 1 or 0, and then click the OK button.
In this way, the puzzle effect is completed. If you want to save the picture as shown in the figure, refer to the next step.
Execute on the menu bar: file-save as. In the Save As dialog box that opens, set the save format to JPEG.


